How to Record Your Mac Screen With Audio (No BlackHole, 2026)
 By Archil Sharashenidze, founder of Record · Published · 13 min read

To record your Mac screen with audio, the hard part is the sound the Mac itself plays (a video, a call, an app); your voice from the microphone is easy. On macOS 27 Golden Gate, press ⇧ ⌘ 5 and choose Include System Audio. On macOS 15 Sequoia, macOS 26 Tahoe and every Intel Mac, the built-in tools record only the microphone, so use an app that records the computer sound, such as Record ($9.99 once) or OBS (free), or set up the free BlackHole driver.
Which way fits your Mac
Most silent screen recordings have the same cause. Your voice is recorded, because every screen recorder can use the microphone. The sound your Mac plays is not:
How you get your Mac’s sound into the video depends on your version of macOS. To see yours, open the Apple menu and choose About This Mac. Then pick a way:
- macOS 27 Golden Gate, on an Apple silicon MacShift-Command-5Built into macOS. Choose Include System Audio in Options.FreeTwo choices
- macOS 15 or later, Apple silicon or IntelRecord Our appOne switch for the computer sound. Your voice and camera in the same MP4.$9.99 onceOne switch
- macOS 13 or later, if you want full controlOBS StudioFree and open source, made for streaming.FreeScene, sources, mixer
- Any macOS, if you want to keep QuickTimeBlackHoleA free audio driver that passes the sound to QuickTime or the toolbar.Free7 steps, each time
Way 1: Shift-Command-5, built into every Mac
The Screenshot toolbar comes with macOS. Here is how it records sound, according to Apple’s support page (checked November 2026):
- Press ⇧ ⌘ 5 (Shift, Command and 5) to open the Screenshot toolbar.
- Choose Record Entire Screen or Record Selected Portion. On macOS 26 Tahoe and later you can also record one window.
- Click Options. Under Microphone, choose the microphone you speak into. None means no voice.
- On macOS 27 Golden Gate only: in the same menu, choose Include System Audio for the computer sound.
- Click Record. To stop, click the stop button in the menu bar or press ⌘ ⌃ Esc. The video is saved on the desktop unless you chose another place in Options.
If Shift-Command-5 does nothing
The shortcut may be switched off, or another screenshot app may have taken it over. Open System Settings › Keyboard, click Keyboard Shortcuts, choose Screenshots and turn on Screenshot and recording options. You can also skip the shortcut: open the Screenshot app from Applications › Utilities, or find it with Spotlight (⌘ Space).
On macOS 15 and 26 you get your voice, not the Mac’s sound
On these versions the Options menu lists only microphones. There is no setting for the sound the Mac plays. The microphone may pick up a little of it from the speakers, together with the room and the keyboard, but that is not the clean sound of the video or call. This is why so many people end up with a silent video, or with only their own voice.
QuickTime Player is the same: its own recording controls offer a microphone, not system audio. A separate guide on QuickTime screen recording with audio is coming to this blog, and so is a beginner’s guide to recording the screen on a Mac at all.
macOS 27 adds Include System Audio
macOS 27 Golden Gate, released in autumn 2026, added Include System Audio to the Screenshot toolbar, so on a recent Mac you can now record the screen, your microphone and the computer sound without installing anything. The catch: macOS 27 runs only on Macs with Apple silicon. Intel Macs stop at macOS 26 Tahoe, so on an Intel Mac the built-in tools will never record the computer sound. And many people stay on Sequoia or Tahoe for a while for other reasons. For them, Way 2 and Way 3 below are the options.
Way 2: an app that records the Mac’s sound
Since macOS 13, an app can take the computer sound straight from macOS (Apple developer documentation). You allow it once in System Settings › Privacy & Security › Screen & System Audio Recording. There is no driver to install, your sound settings stay as they are, and your volume keys keep working. This is the way to record internal audio on a Mac without BlackHole.
Record: one switch for the computer sound
I built Record for people who just want the screen, their voice and the sound of the Mac in one video, without any setup. It uses this macOS feature, so nothing else gets installed. This is the whole process:
Press ⌥ ⌘ R
Option, Command and R, in any app. The recording panel opens. You can also click the R icon in the menu bar.
Choose Full screen or Window
For Window, click “Choose a window” and pick the one you want from live pictures of your open windows.
Choose your microphone
In the Microphone row, pick the microphone you speak into. Choose “No microphone” if you want only the computer sound.
Switch on Computer sound
The Computer sound switch is off until you turn it on. Record remembers it for the next recording.
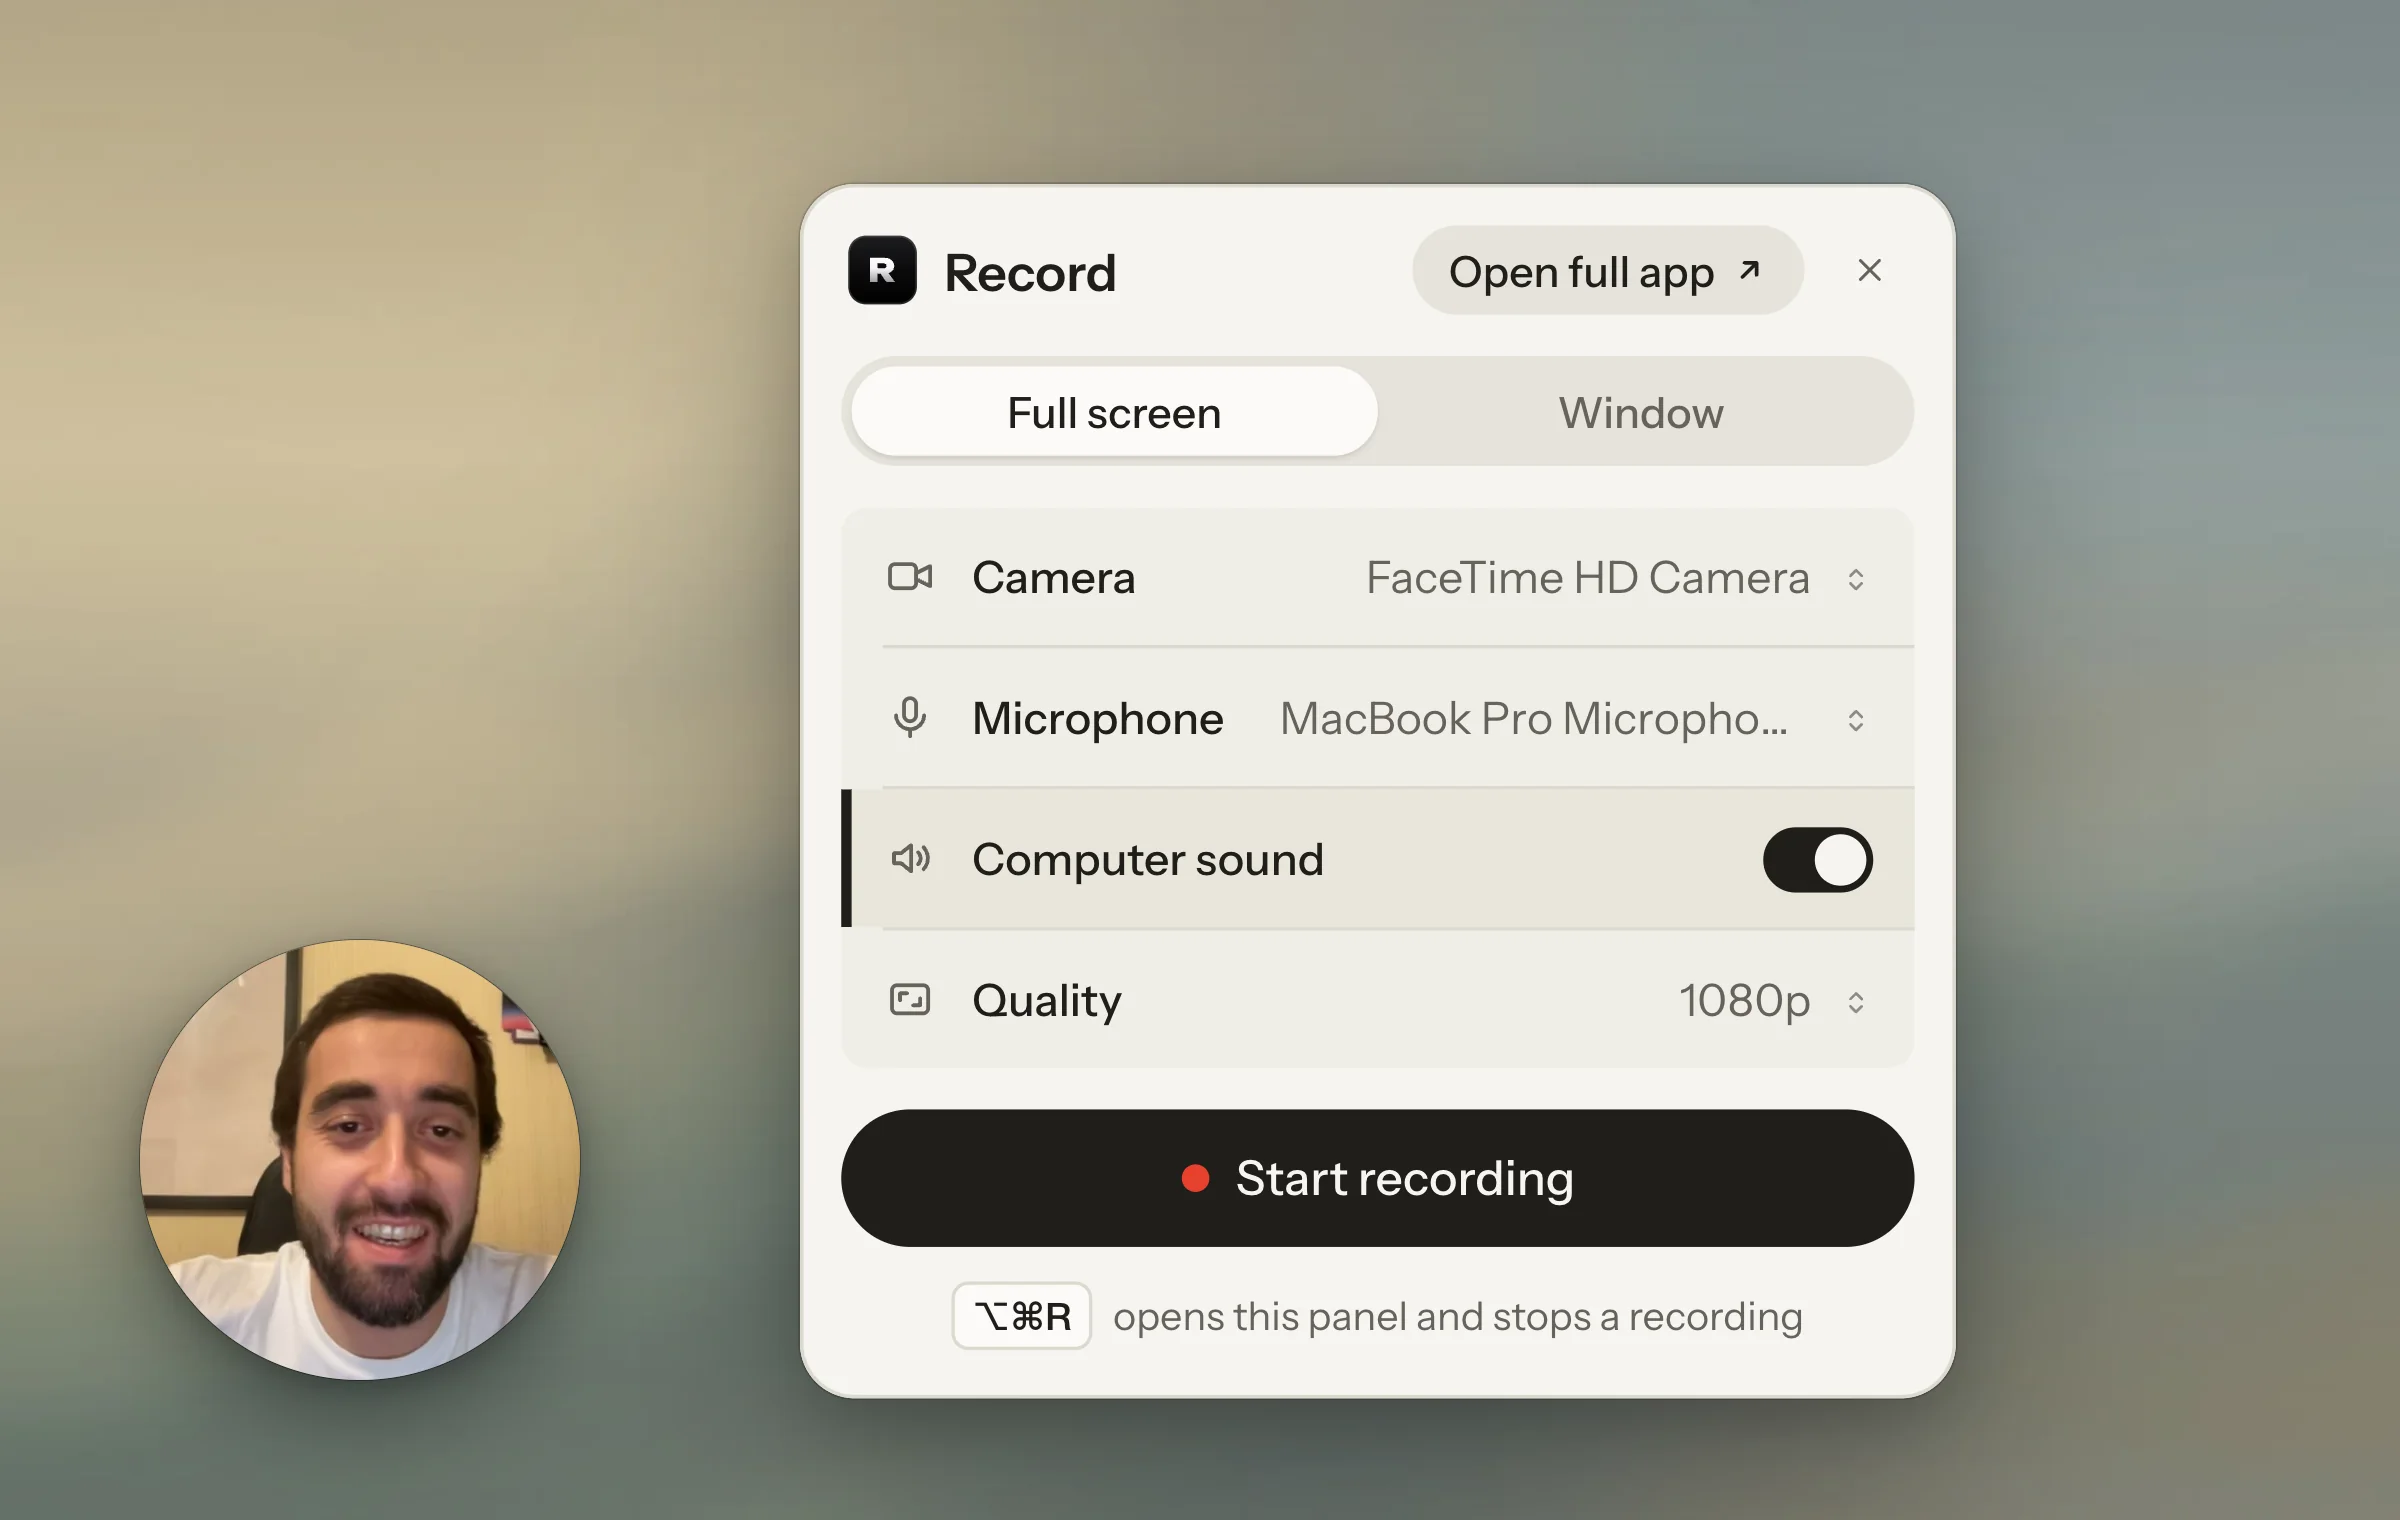
The recording panel with Computer sound on and a microphone chosen. A drawing of the app, made from its code. Click Start recording
A 3, 2, 1 countdown runs, then the recording starts. The round camera view is optional: choose “No camera” in the Camera row to leave it out.
Press ⌥ ⌘ R again to stop
The video opens in Record’s library and is saved as an MP4 file in
Movies/Record. Your voice and the computer sound are mixed into one stereo sound track, so it plays with sound in any player, chat or browser.
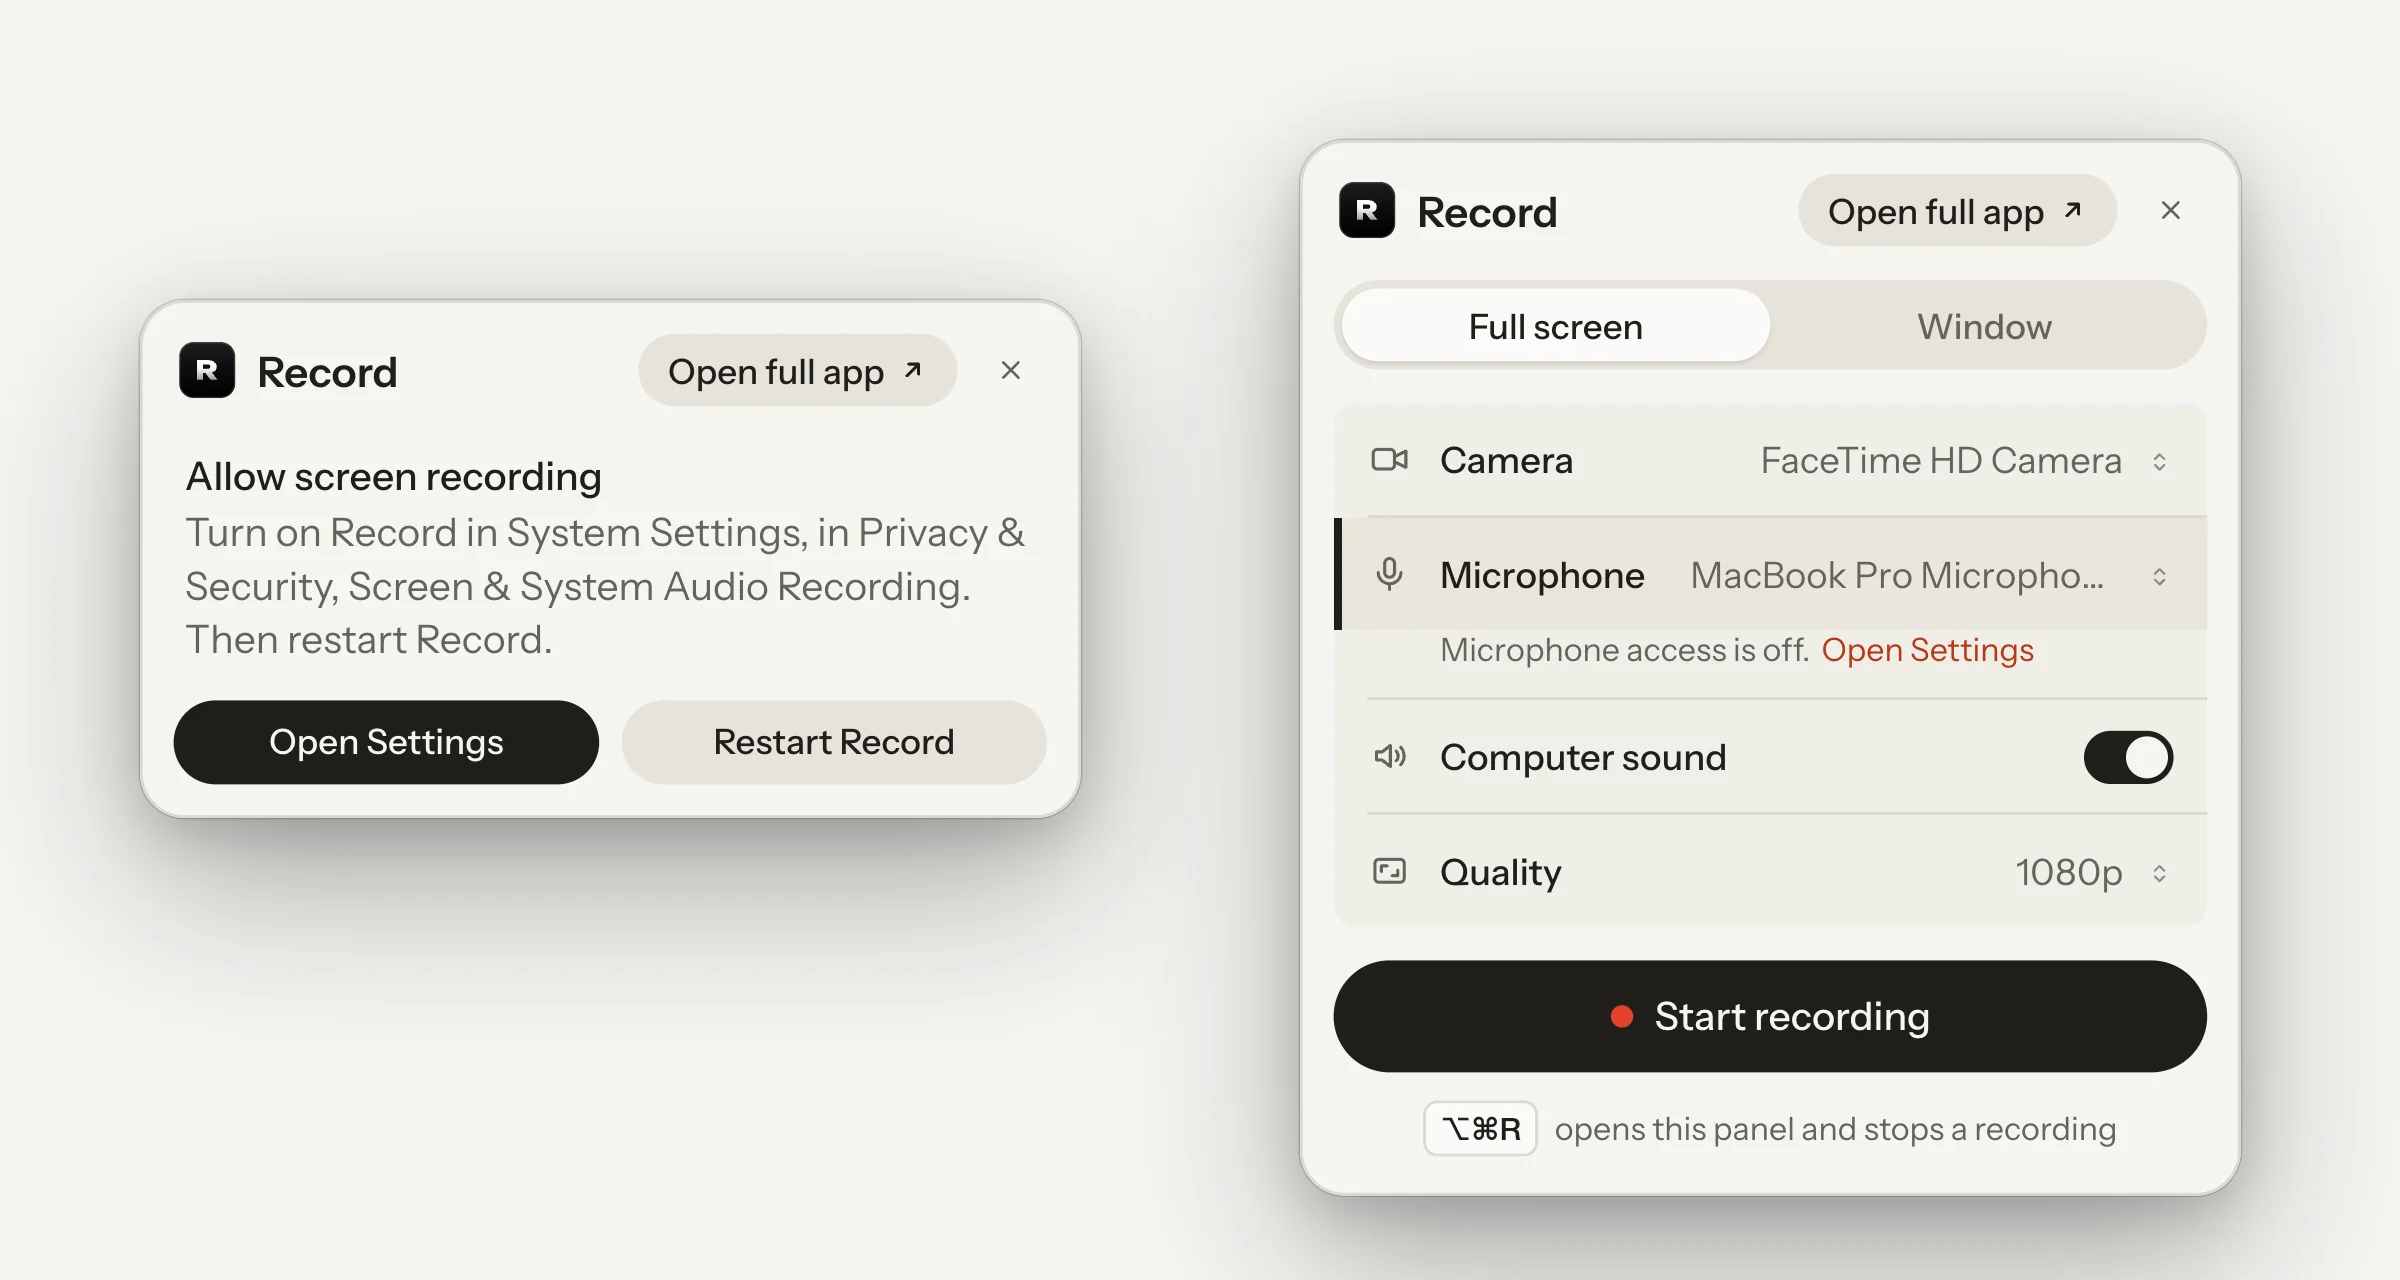
The first time, macOS asks you to allow Screen & System Audio Recording and the Microphone for Record. Record does not record its own sounds. It needs macOS 15 or later and runs on Apple silicon and Intel Macs, which matters if your Mac cannot get macOS 27.
Because both sounds are in one track, you cannot change the balance between your voice and the computer sound after recording, and Record has no editor. Check the levels with a short test first. If you need separate sound tracks to edit later, use a tool that records them separately; OBS can, in its Advanced output mode.
Record costs $9.99 once, with no subscription and updates included. You can try the panel in the live demo on the home page before you buy.
OBS Studio: free, with more setup
OBS Studio’s macOS Screen Capture source uses the same macOS feature and records audio on macOS 13 and later. OBS 30 and later also has a macOS Audio Capture source that can take all desktop audio or the sound of a single app (OBS Knowledge Base, checked November 2026). OBS is free, open source and made for streaming, with scenes, many sources and detailed output settings. That is also its cost: before your first recording you set up a scene, a source, the audio mixer and the output format. If you stream or need that control, OBS is the better tool.
Way 3: BlackHole, a free audio driver
BlackHole by Existential Audio is a free, open-source virtual audio driver (GPL-3.0). It adds a device called “BlackHole 2ch” that acts as a speaker and a microphone at the same time: what goes in comes out. It works on macOS 10.10 and later, on Intel and Apple silicon, and needs no kernel extension. The download page asks for a donation, with an option for people who cannot afford one; you can also install it with Homebrew. Set it up like this (steps from the project’s README and wiki, checked November 2026):
- Close your audio apps and install BlackHole 2ch, or run
brew install blackhole-2chin Terminal. - Open Audio MIDI Setup (press ⌘ Space and type its name).
- Click + at the bottom left of the Audio Devices window and choose Create Multi-Output Device.
- Tick your speakers or headphones and BlackHole 2ch. Your speakers should be first in the list (they keep the time for both), and Drift Correction should be on for BlackHole.
- Control-click the Multi-Output Device and choose Use This Device For Sound Output. You now hear the sound, and BlackHole gets a copy of it.
- In your recorder, choose BlackHole 2ch as the microphone. In the Screenshot toolbar that is Options › Microphone.
- Record. When you are done, set the sound output back to your speakers in System Settings › Sound.
Add your voice too: an Aggregate Device
With the steps above you get the computer sound but lose your voice, because the recorder now uses BlackHole as its microphone. To get both, go back to Audio MIDI Setup, click +, choose Create Aggregate Device, tick your microphone and BlackHole 2ch, and turn on Drift Correction for every device except the clock source. Then choose this Aggregate Device as the microphone in your recorder. Make a 10-second test recording before the one that matters.
Why BlackHole can be awkward
BlackHole is solid software, and audio people use it every day to send sound between apps. For a quick screen recording, though, it has real costs:
- No normal volume control. BlackHole’s own notes say macOS does not support changing the volume of a Multi-Output Device. You set each device’s volume in Audio MIDI Setup instead.
- You switch the output every time, before and after each recording, or you live with the volume problem.
- Headphones can break it. If macOS moves the sound output to your AirPods when they connect, the sound skips the Multi-Output Device and BlackHole hears nothing.
- Two devices for voice and sound. Microphone plus computer sound needs the Aggregate Device as well.
- Known problems. The project says multi-output setups can be buggy, recommends Drift Correction against clicks, and lists Apple Podcasts and Messages as apps that do not work with Multi-Output Devices.
- Removing it takes the uninstaller package, or deleting the driver from
/Library/Audio/Plug-Ins/HALand restarting Core Audio.
All the ways side by side
This is not a ranking of apps (a separate list of the best screen recorders for Mac is planned). It compares the ways to get both sounds into a recording:
| What you get | Shift-Command-5macOS 15 and 26 | Shift-Command-5macOS 27 | BlackHolewith QuickTime or the toolbar | OBS StudiomacOS 13 or later | RecordmacOS 15 or laterOur app |
|---|---|---|---|---|---|
| Your voice | Yes | Yes | PartlyWith an Aggregate Device | Yes | Yes |
| Your Mac’s sound | No | Yes | Yes | Yes | Yes |
| Works on macOS 15 and 26 | Yes | NomacOS 27 only | Yes | Yes | Yes |
| Works on Intel Macs | Yes | NoApple silicon only | Yes | Yes | Yes |
| No audio driver | Yes | Yes | No | Yes | Yes |
| Volume keys keep working | Yes | Yes | NoNot with a Multi-Output Device | Yes | Yes |
| Your camera in a corner | No | No | No | Yes | Yes |
| Share as a link | No | No | No | No | YesThrough your Google Drive |
| Setup | Choose a microphone | Two choices in Options | 7 steps in Audio MIDI Setup | Scene, sources, mixer | One switch |
| Price | Free | Free | Free (donation asked) | Free | $9.99 once |
Record Our app
macOS 15 or later · $9.99 once · One switch
- Yes: Your voice
- Yes: Your Mac’s sound
- Yes: Works on macOS 15 and 26
- Yes: Works on Intel Macs
- Yes: No audio driver
- Yes: Volume keys keep working
- Yes: Your camera in a corner
- Yes: Share as a link (Through your Google Drive)
Shift-Command-5 macOS 15 and 26
Free · Choose a microphone
- Yes: Your voice
- No: Your Mac’s sound
- Yes: Works on macOS 15 and 26
- Yes: Works on Intel Macs
- Yes: No audio driver
- Yes: Volume keys keep working
- No: Your camera in a corner
- No: Share as a link
Shift-Command-5 macOS 27
Free · Two choices in Options
- Yes: Your voice
- Yes: Your Mac’s sound
- No: Works on macOS 15 and 26 (macOS 27 only)
- No: Works on Intel Macs (Apple silicon only)
- Yes: No audio driver
- Yes: Volume keys keep working
- No: Your camera in a corner
- No: Share as a link
BlackHole with QuickTime or the toolbar
Free (donation asked) · 7 steps in Audio MIDI Setup
- Partly: Your voice (With an Aggregate Device)
- Yes: Your Mac’s sound
- Yes: Works on macOS 15 and 26
- Yes: Works on Intel Macs
- No: No audio driver
- No: Volume keys keep working (Not with a Multi-Output Device)
- No: Your camera in a corner
- No: Share as a link
OBS Studio macOS 13 or later
Free · Scene, sources, mixer
- Yes: Your voice
- Yes: Your Mac’s sound
- Yes: Works on macOS 15 and 26
- Yes: Works on Intel Macs
- Yes: No audio driver
- Yes: Volume keys keep working
- Yes: Your camera in a corner
- No: Share as a link
yes · no · partly. Checked November 2026 on Apple Support, the BlackHole README, the OBS Knowledge Base and Record’s code.
Record is the only way here that records your voice and your Mac’s sound on every Mac from macOS 15, Intel included, with your camera and a share link, after one switch. The others cost nothing: if you have macOS 27, the built-in toolbar is enough, and if you want full control, OBS is the better tool.
Free screen recorder for Mac with audio? If your Mac runs macOS 27, use the Screenshot toolbar. If not, OBS is the free choice without a driver, and BlackHole is the free choice if you want to keep using QuickTime or the Screenshot toolbar. Record is for people who would rather pay $9.99 once than set things up.
No sound in your recording? Check these 7 things
Why is there no sound in a screen recording on a Mac? Go through this list from the top. Most silent recordings have one of these causes:
- The tool records only a microphone. On macOS 15 and 26, the Screenshot toolbar and QuickTime never record the computer sound. That is not a fault of your Mac.
- The computer sound is switched off. On macOS 27, choose Include System Audio in the toolbar’s Options. In Record, turn on Computer sound.
- No microphone, or the wrong one. “None” (or “No microphone” in Record) records no voice. If you have several microphones, for example in a display, a webcam and a headset, choose the one you actually speak into.
- A permission is off. Open System Settings › Privacy & Security and check Microphone and Screen & System Audio Recording for your recorder. After you turn on screen recording, quit and reopen the app. Record users: see which permissions Record needs.
- BlackHole is not in the path. The sound output must be the Multi-Output Device (macOS may have switched it to your headphones), and the recorder’s microphone must be BlackHole 2ch or your Aggregate Device.
- The sound itself was muted. If the video player, the call or the app was muted, there was no sound to record.
- The app protects its content. Some apps that play protected video, such as streaming apps, can block recording. No recorder setting changes that.
Questions and answers
Can I screen record on a Mac with internal audio for free?
Yes. On macOS 27 Golden Gate, the Screenshot toolbar (Shift-Command-5) has an Include System Audio option. On macOS 13 to 26, OBS Studio records the computer sound without a driver, and BlackHole (a free virtual audio driver) lets the Screenshot toolbar or QuickTime record it.
Does QuickTime record internal audio on a Mac?
No. QuickTime Player’s own screen recording controls offer a microphone only. To get the computer sound into a QuickTime recording you need a virtual audio driver such as BlackHole, chosen as the microphone.
How do I record my Mac screen with audio and microphone at the same time?
Use a recorder that takes both: the Screenshot toolbar on macOS 27 (choose a microphone and Include System Audio), OBS, or Record (choose a microphone and switch on Computer sound). With BlackHole you need an Aggregate Device that combines your microphone and BlackHole.
Can I record only the computer sound, without my voice?
Yes. In the Screenshot toolbar on macOS 27, set Microphone to None and choose Include System Audio. In Record, choose “No microphone” and switch on Computer sound.
Do I need BlackHole on macOS Sequoia or Tahoe?
Only if you want to keep using QuickTime or the Screenshot toolbar. Apps built on Apple’s ScreenCaptureKit, such as OBS and Record, record the computer sound on these versions without any driver.
Does Record work on Intel Macs?
Yes. Record needs macOS 15 or later and runs on Apple silicon and Intel Macs. That helps on Intel Macs, which cannot install macOS 27 and so never get the built-in Include System Audio option.